
This week I worked on a new recipe, mini pumpkin pies. Madi LOVES pumpkin pie, and I am not really a fan, so every year I make him this massive pie and he eats like half of it before it goes bad. So this year I decided to try something new and make mini pumpkin pies so that he could enjoy it! Side note, I remember the first time I made Madi a pumpkin pie. We were living with roommates in our first apartment and I made it around this time of the year. I don't like pumpkin pie and haven't tried it since I was probably six or seven, so I didn't remember what it tasted like. The whole process was a disaster. I dumped half the filling out of the pie while trying to put it in the oven (onto our blue kitchen rug). I served it hot, like right out the oven hot, to him and watched with a hopeful smile as he took his first bite. He politely told me "Babe, I think it's supposed to be cold." Durp. So then I put it in the fridge for a few hours. By the time we went through all of that the pie was mediocre at best. Every year I have worked on perfecting my pumpkin pie recipe for him, but it is hard as he is not a sweets fan and I can't taste test it because I don't like it in the first place. So since I finally got the Madison stamp of approval on last year's pies I used the same recipe to make miniature pies this year!

Here's what you need:
- 1 1/2 box of 2 Pillsbury Pie Crusts (or make your own)
- 1 1/2 can of pumpkin puree
- 10 oz. of evaporated milk
- 2 eggs
- 1/2 cup of white sugar
- 1/4 cup of brown sugar
- 1/4 tablespoon of salt
- 1/2 tablespoon of pumpkin pie spice
- 1 teaspoon of vanilla
 - 1/2 tablespoon of cinnamon
- cooking spray
- muffin tin
Makes 18 mini-pies
1. Preheat the oven to 350 degrees.
2. Mix all of the ingredients together and blend.
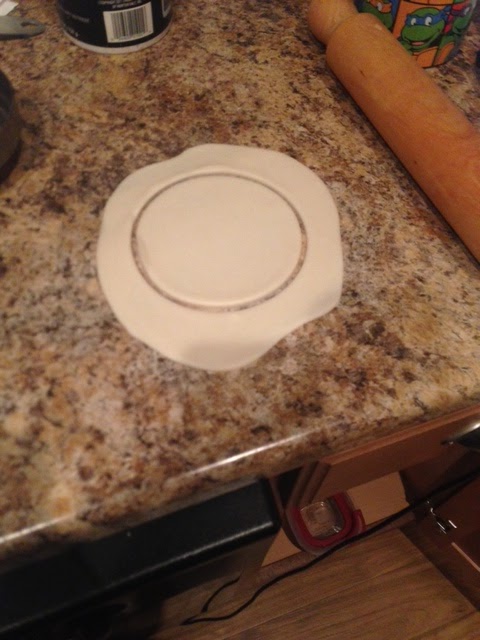
3. Cut out small circles with a cookie cutter or lid of something that will fit the size of the muffin tin from the pie crust.

TIP: to get the most of your crusts, re-use extra crust to make more and use a rolling pin to flatten out as much as possible
4. Spray the muffin tin with cooking spray (I literally never fail to get halfway through putting things in a muffin tin and forgot I didn't spray first, ugh)
5. Place the circular pie crusts in the muffin tins trying to center them as much as possible (you can see I failed at this)
 6. Pour the pumpkin pie mix into the tin, trying to fill to the top of the mini pie crusts
7. Bake for 20 minutes
8. Let cool in the fridge for at least two hours or overnight.
9. Place whip cream on top, and wallah! You have yourself a mini pumpkin pie!
Now the presentation of mine is very poor ( I didn't even take a picture afterwards). Next time I will take time to actually try and make them look presentable. However, as far as the Madison stamp of approval, it was considered a success! Do you have any tricks or ideas for mini pumpkin pies? I may try some bite sized with a mini muffin tin for Thanksgiving! We shall see!
Thanks for baking with me!
- Olivia :)
No comments:
Post a Comment